By Exyhair team | 05 August 2024 | 0 Comments
How to Remove Loc Extensions?
How to remove braids is a hot topic these days. Because dreadlocks extensions are still popular, many people are wearing them. But having braids doesn’t mean they can’t get damaged. It has a time limit. Because after wearing braids for a while, your natural braids will start to loosen and lose hair.
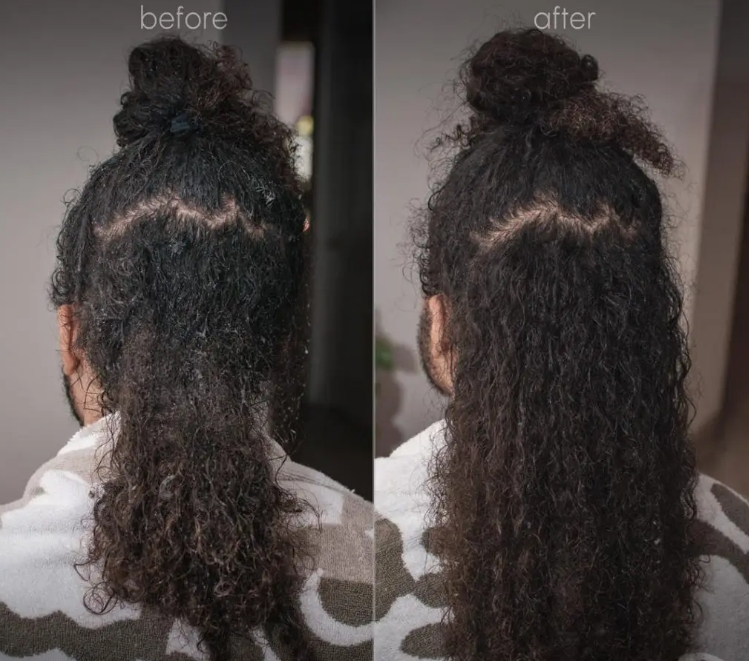
So, are you ready to get rid of your micro braids and get back to your natural hairstyle? Unfortunately, removing braids is a difficult task and can cause quite a bit of damage, but with this guide, you’ll learn how to remove your braids with minimal damage to your beautiful hair and get back to your natural hairstyle!
To comb out dreadlocks, you need to wet your hair first and apply a lubricating conditioner. Then, you need to use a comb or metal comb to very patiently comb out the hair starting from the tip of the dreadlock extensions and working your way down to the scalp. This is a very tedious process that will tire your hands, head, and patience. But if you follow this guide, have enough patience and perseverance, and are willing to take the time, you should be able to get rid of your dreadlocks with minimal damage!


First, you need to prepare a pair of scissors. You will need scissors to cut short hair strands when removing hair.
The second is a crochet hook for braiding braids. You can choose a crochet hook, whether it is single-headed, double-headed or triple-headed, as long as you can use it smoothly.
Next is the conditioner. There is no special requirement for this conditioner. Any brand and ingredients are fine. As long as it is suitable for your hair quality, it is the best.
Next is to prepare a bottle of essential oil. This essential oil can be olive oil or other ingredients. The main purpose is to help you better nourish and protect your hair when removing braids. Finally, there is a rat tail comb.
Deal with any large knots before washing your hair and any small knots. If you have dreadlocks or tangled sections at the roots, gently pull them apart, as close to the scalp as possible.
Rinse off the lather and massage the detangling conditioner into each strand of hair, saving some for later. Don't rinse, just wrap it in a towel to keep it from touching your face until you're ready to work.

If you have a small group of friends who are willing to help and anticipate doing it all at once, work on all the hair at once, then wrap it in a towel and pull out the hair you're working on.
Either way, try to save some conditioner and mix it with water in a spray bottle (at least two parts water to one part conditioner) for extra conditioning during the removal process.
Grab the first micro braid. If you have a tail comb, poke the metal tip into the very bottom of the lock and pull. If you're using a regular comb, do much the same thing with the teeth, starting at the very bottom of the lock extensions. If the metal tip or comb is stuck and you can't pull, apply a little more force. If you still can't pull, move toward the ends until you can loosen up some hair. Gently pull the knot apart an inch or so.
If you need more slip, try spraying a mixture of detangling conditioner and warm water on the area you're combing. Keeping the area moisturized will increase the hair's elasticity and help prevent breakage while you comb.

Repeat steps 2 and 3 until you have completed your entire braid, then move on to the next one, and the next one, and the next one until your entire head is free!
NOTE: You will lose a lot of hair during this process, especially if you have had braids for a while. Don't panic! Most of the hair by now is naturally falling out and stuck in your hair. Don't stress about it, that is hair you lost a long time ago!
Traditional hair stand out for their key features, including the use of real human hair for a natural look and feel. These hairs offer a wide range of styling options and prioritize comfort and a well-designed wig cap, making them a popular and timeless choice in the hair fashion world.
At Exyhair, we have a wide range of human hair to choose from, whether you're looking for a classic, we'll make sure you get the perfect hair to suit your needs.
WhatsApp: +1 213-337-7694
Email: support@exyhair.com
So, are you ready to get rid of your micro braids and get back to your natural hairstyle? Unfortunately, removing braids is a difficult task and can cause quite a bit of damage, but with this guide, you’ll learn how to remove your braids with minimal damage to your beautiful hair and get back to your natural hairstyle!
Introduction to the Principles of Dreadlock Removal
Understanding the Locking Process
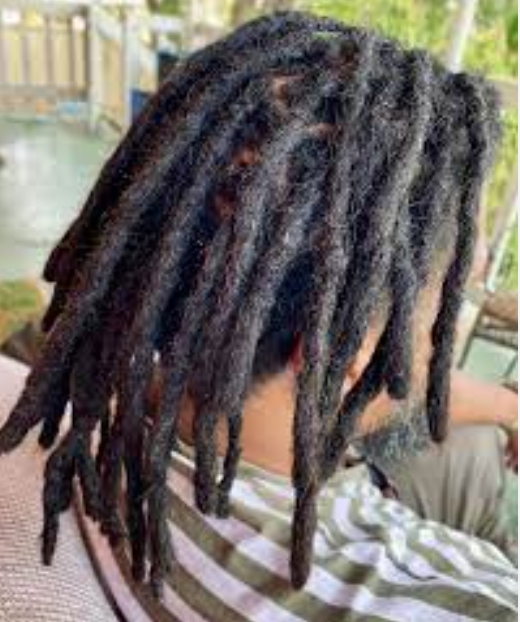
For most people who have dreadlocks, dreadlocks are associated with spirituality and identity. But literally, dreadlocks are nothing more than a bunch of knots. Therefore, in order to remove dreadlocks, they should be treated just like the knots on normal hair. The concept is the same, it just takes more effort because dreadlocks have thousands more knots than regular "dreadlock-free" hair.To comb out dreadlocks, you need to wet your hair first and apply a lubricating conditioner. Then, you need to use a comb or metal comb to very patiently comb out the hair starting from the tip of the dreadlock extensions and working your way down to the scalp. This is a very tedious process that will tire your hands, head, and patience. But if you follow this guide, have enough patience and perseverance, and are willing to take the time, you should be able to get rid of your dreadlocks with minimal damage!

Why do you want to comb out your dreads?
Messy phase/free-form dreads
A common reason people wear their dreads is that they don't like how messy they look. The messy phase is most often associated with free-form dreads, where people let their dreads form on their own. Other methods can also lead to the messy phase if they are not properly combed or maintained.Too old or too heavy
Old dreads, especially those that are longer than the waist, can often become very cumbersome and heavy. Some people are simply tired of dealing with dreads extensions that are too long and always in the way. Others experience headaches or neck problems because of the weight of their dreads. In some cases, the weight can be a sign of product or wax buildup over the years. If you haven't deep cleaned them recently, we strongly recommend using our dreads cleaning guide to remove the buildup to help reduce the weight of your dreads.lifestyle changes
Some people need to look presentable for a new job opportunity, so they cut their micro locs. Others make major changes in their lives, such as ending or starting a relationship, moving to a new city, or any other major change, which may lead them to want to change their hairstyle as well.
How to Remove Dreadlocks
Step 1 Prepare tools to remove loc extensions
Before I start to introduce how to remove Loc extensions, I hope you can prepare in advance. These things are to facilitate you to remove loc extensions later.First, you need to prepare a pair of scissors. You will need scissors to cut short hair strands when removing hair.
The second is a crochet hook for braiding braids. You can choose a crochet hook, whether it is single-headed, double-headed or triple-headed, as long as you can use it smoothly.
Next is the conditioner. There is no special requirement for this conditioner. Any brand and ingredients are fine. As long as it is suitable for your hair quality, it is the best.
Next is to prepare a bottle of essential oil. This essential oil can be olive oil or other ingredients. The main purpose is to help you better nourish and protect your hair when removing braids. Finally, there is a rat tail comb.

Step 2 Get ready
Deal with any large knots before washing your hair and any small knots. If you have dreadlocks or tangled sections at the roots, gently pull them apart, as close to the scalp as possible.
Step 3 Wash your braids
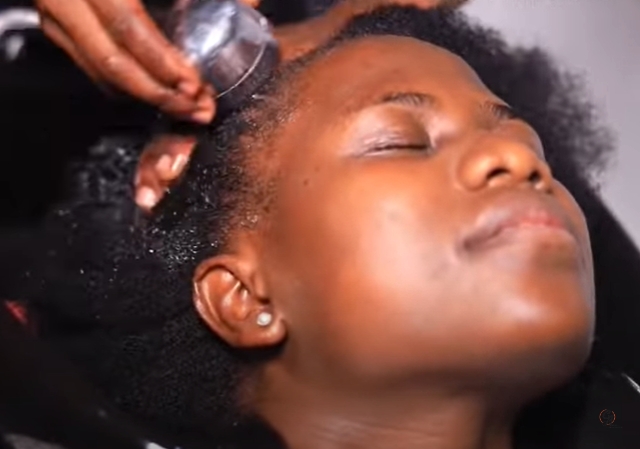
The first step in detangling is to wash away any wax or buildup that may be in your hair; it will work against you in the process, making your hair stick together. Wash each micro braid in the hottest water you can handle with a detangling shampoo and scrub thoroughly. If you can soak your hair in a basin or bucket of hot water before or while you shampoo, that's even better.Rinse off the lather and massage the detangling conditioner into each strand of hair, saving some for later. Don't rinse, just wrap it in a towel to keep it from touching your face until you're ready to work.

Step 4 Untangling
This is where some planning is needed. Are you doing this by yourself, for a few hours every night? Or are you treating it like a party? This is important because if you don't expect to be done in one go, it's best to save the conditioner and use only a little bit on the sections you're working on, one strand at a time, and wet the locks of hair at a time.If you have a small group of friends who are willing to help and anticipate doing it all at once, work on all the hair at once, then wrap it in a towel and pull out the hair you're working on.
Either way, try to save some conditioner and mix it with water in a spray bottle (at least two parts water to one part conditioner) for extra conditioning during the removal process.
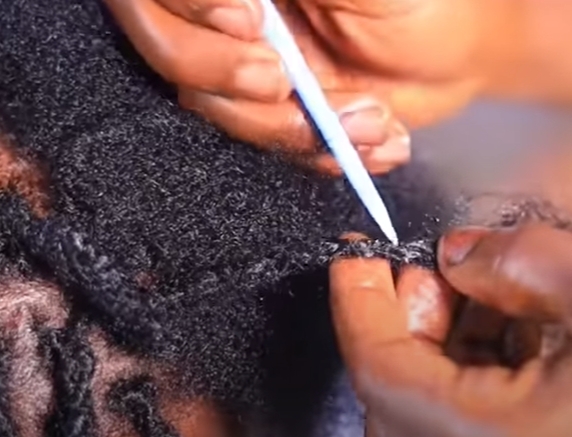
Grab the first micro braid. If you have a tail comb, poke the metal tip into the very bottom of the lock and pull. If you're using a regular comb, do much the same thing with the teeth, starting at the very bottom of the lock extensions. If the metal tip or comb is stuck and you can't pull, apply a little more force. If you still can't pull, move toward the ends until you can loosen up some hair. Gently pull the knot apart an inch or so.
If you need more slip, try spraying a mixture of detangling conditioner and warm water on the area you're combing. Keeping the area moisturized will increase the hair's elasticity and help prevent breakage while you comb.

Step 5 Gently Comb
Once you have loosened a section of hair, start combing through the base of your hair to untangle and loose hair. Keep combing until you come to a section that is still annoying.Repeat steps 2 and 3 until you have completed your entire braid, then move on to the next one, and the next one, and the next one until your entire head is free!
NOTE: You will lose a lot of hair during this process, especially if you have had braids for a while. Don't panic! Most of the hair by now is naturally falling out and stuck in your hair. Don't stress about it, that is hair you lost a long time ago!
Step 6 Finish Rinse
Now that your hair is fluffy and flowing, give your scalp and hair one more wash with this kit. A good lather will thoroughly cleanse your hair, and the extra conditioning will help repair any stress from pulling.Traditional hair stand out for their key features, including the use of real human hair for a natural look and feel. These hairs offer a wide range of styling options and prioritize comfort and a well-designed wig cap, making them a popular and timeless choice in the hair fashion world.
Conclusion
Dreadlock extensions removal can be a very cheap process, requiring less than $30 worth of supplies. On the other hand, it is a very time-consuming and tedious process that will put your patience to the ultimate test! This is definitely not for the faint of heart! We hope you learned a lot of valuable information from this article.How to Remove Loc Extensions FAQ
Q1: Can I comb hair extensions myself?
A: Removing hair extensions is a complex process that usually requires the help of a professional barber. Attempting to remove them yourself may result in breakage or damage to the hair. It is best to seek professional help for safe and effective removal.Q2: How long does it take to remove hair extensions?
A: The time required to remove hair extensions depends on factors such as the number of extensions and the method of installation. It may vary from a few hours to multiple times, depending on the complexity of the hairstyle and the condition of the hair.Q3: Can I reuse the removed hair extensions?
A: In some cases, it is possible to reuse the extensions after removal. However, this depends on the quality and condition of the extensions. It is best to consult a professional barber who can assess the feasibility of reusing the extensions.Q4: How should I care for my hair after removing the extensions?
A: After removing the extensions, it is important to follow a proper aftercare routine. This includes deep conditioning, moisturizing, and maintaining a healthy hair care regimen. Regular trims may also help remove any damaged ends and promote healthy hair growth.Welcome to Exyhair
Are you looking for the perfect human hair series for you? Hair is a very personal thing and it's natural to feel overwhelmed when trying to pick the perfect hair for you.At Exyhair, we have a wide range of human hair to choose from, whether you're looking for a classic, we'll make sure you get the perfect hair to suit your needs.
WhatsApp: +1 213-337-7694
Email: support@exyhair.com
Leave a Reply
Your email address will not be published.Required fields are marked. *
POPULAR BLOG
CATEGORIES
